
Exporting Projects
Introduction
Efficiently exporting projects is a crucial part of the design process, enabling teams to share their work in various formats for review, presentation, and implementation. This guide provides detailed steps and options for exporting entire projects or specific screens and components, ensuring a seamless workflow.
Export Options
When it comes to exporting projects, users have multiple options to choose from, ensuring flexibility and compatibility with different requirements. The available export formats include:
- Images: JPG, PNG, SVG
- Document: PDF
These options cater to diverse needs, from high-quality images for presentations to scalable vector graphics for development purposes.
Steps for Exporting an Entire Project
Exporting an entire project is straightforward and can be accomplished in a few simple steps:
- Select All Screens: Use ‘CMD‘ or ‘CTRL’ + ‘A’ to select all screens in the project.
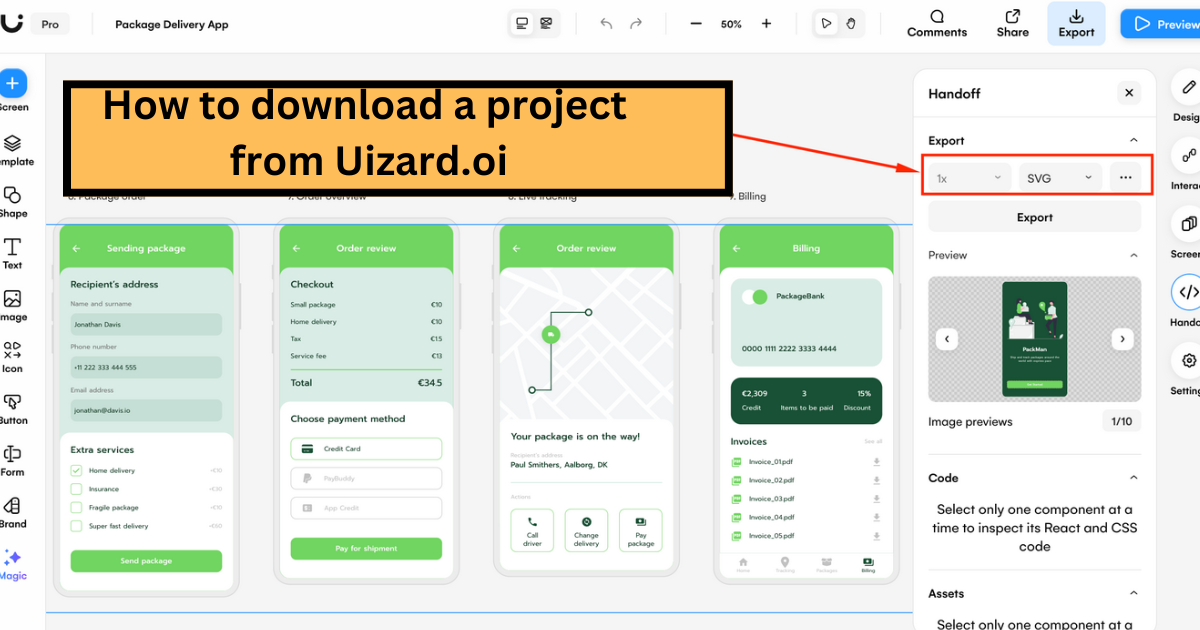
- Click ‘Handoff Mode’: In the right-hand menu, click on ‘Handoff Mode’.
- Select Export Settings:
- Scale: Choose the desired scale (1x, 2x, 3x, or 4x).
- File Type: Select the file type (PDF, JPG, SVG, or PNG).
- Transparent Background: For PNG files, toggle the transparent background option.
- Preview: Under the ‘Preview’ section, review the pages to ensure they meet your requirements.
- Export: Click ‘Export’ to download the entire project in the selected format.
Steps for Exporting Specific Screens or Components
Sometimes, you may need to export only specific screens or components. The following steps guide you through this process:
- Select Screens or Components: Choose the screen(s) or component(s) you want to export.
- Click ‘Handoff Mode’: In the right-hand menu, click on ‘Handoff Mode’.
- Select Export Settings:
- Scale: Choose the desired scale (1x, 2x, 3x, or 4x).
- File Type: Select the file type (PDF, JPG, SVG, or PNG).
- Transparent Background: For PNG files, toggle the transparent background option.
- Preview: Under the ‘Preview’ section, review the selected pages or components.
- Export: Click ‘Export’. Each component or page will be exported in a separate file, ensuring organized and accessible outputs.
Future Plans
To further enhance the export functionality, there are plans to expand the variety of export formats available. This will provide even greater flexibility and utility for users, catering to a wider range of needs and preferences.
Conclusion
Exporting projects efficiently is essential for effective communication and collaboration within design teams. By following the outlined steps, users can easily export entire projects or specific screens and components in various formats, ensuring their work is accessible and presentable. With future enhancements on the horizon, the export options will continue to evolve, providing even more robust tools for designers.